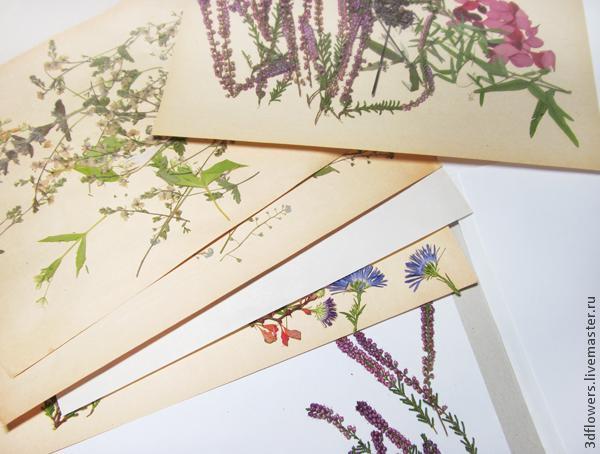
Hello everyone! Everyone who loves to work with resin and who loves the "kitchen" of creating something with their own hands!
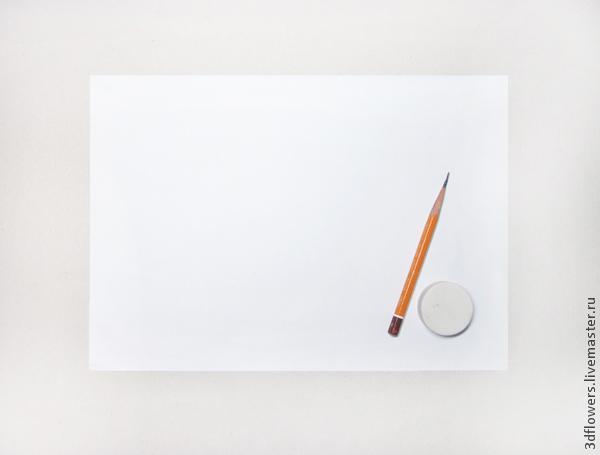
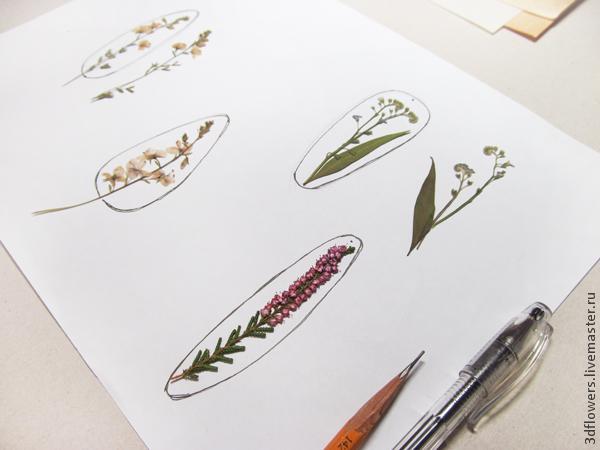
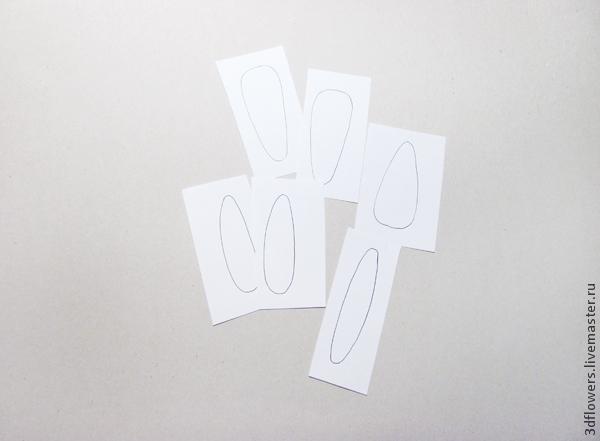
So, I started by choosing from my stock, those flowers that I want to pour, and outlined the desired contours of the fortification on paper (the plants must be completely dried). You can skip this stage and pour it without a stencil, but I wanted the plants to fit =))
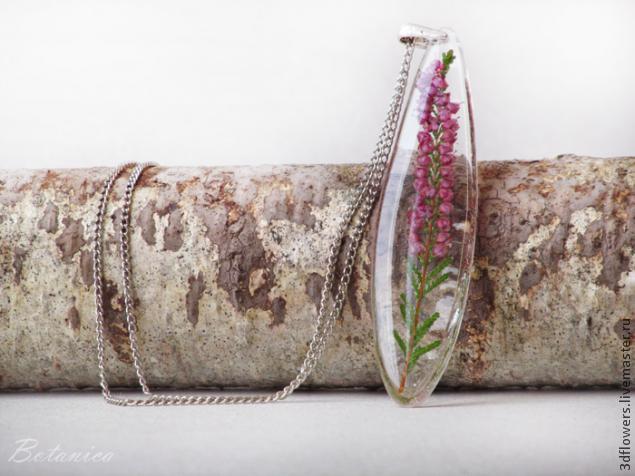
I chose heather flowers, forget-me-nots and oak veronica.
Now you need to prepare the resin: knead (according to the instructions!) And leave for about 2-3 hours (to gain viscosity). Immediately after kneading, there are a lot of bubbles in the resin, they will go away on their own after a while and you can use it. At this stage, it is good to pour it into molds. But I'm waiting for it to thicken.

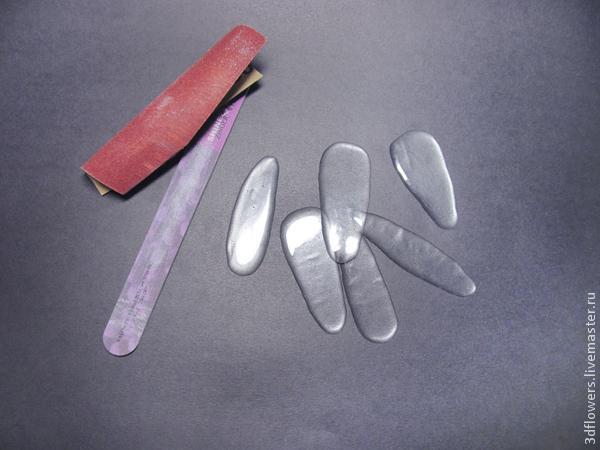
While the resin is infused, I make the number of stencils I need and cut out:
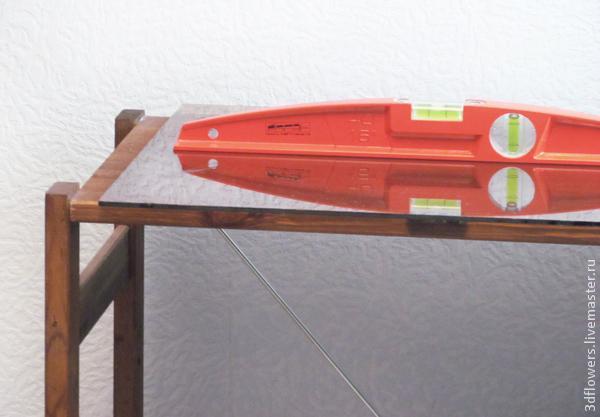
An important point - it is necessary to prepare the surface on which the products will harden. It should be as even as possible; dust, if not removed before pouring, will be on future brooches-earrings. In my case, the surface is glass, and with the help of a building level, you can put it as evenly as possible, putting something under it.
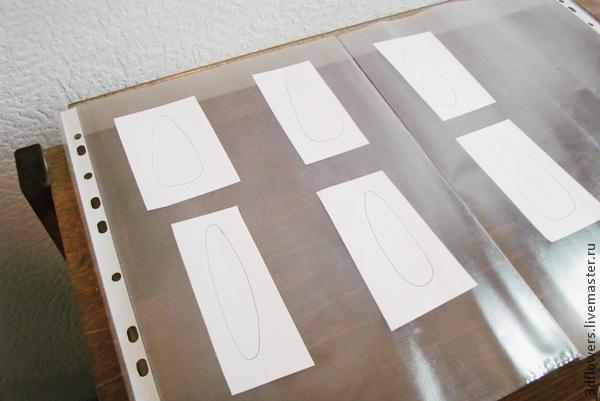
The next step is to place a file or several files on a flat surface and UNDER them to place stencils.
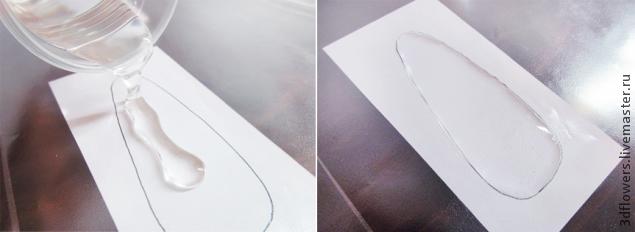
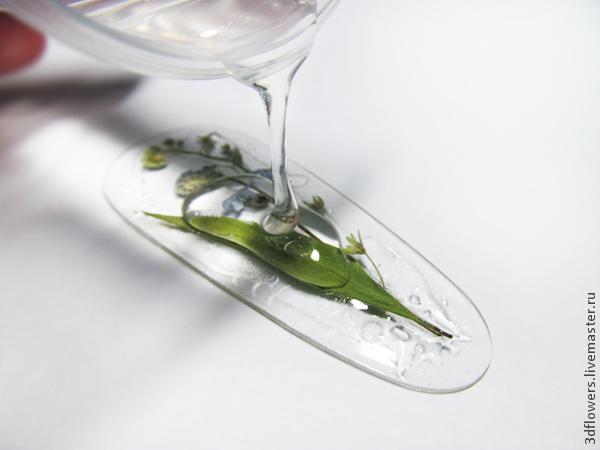
Pour the prepared slightly thickened resin directly onto the file and spread it with a toothpick so that the height is about 2-3 mm. Necessarily you need to cover it with a dome-lid! By experience, I found out that under a low dome, the probability of dust sticking is less than if you cover it with one common and high one. After 15 - 30 minutes, the resin may crawl away from the contour, then you also need to return it with a toothpick to its place or drop more resin and distribute it.

Now we forget about the resin for about a day. It is necessary that the newly made bases harden completely and then you can separate them from the file (you can separate them earlier, but the uncured resin will bend and leave fingerprints) The edges, of course, will not be perfectly even, so you need to process them with sandpaper or a file. If there are paired elements such as earrings, then you need to make them as symmetrical as possible.
The files themselves are convenient to use for any work with resin! Thus, protect your table from resin adhering to it.

We knead a new portion of the resin, leave it to infuse and in the meantime try on the location of the dried flowers, and if everything suits you, you can continue!
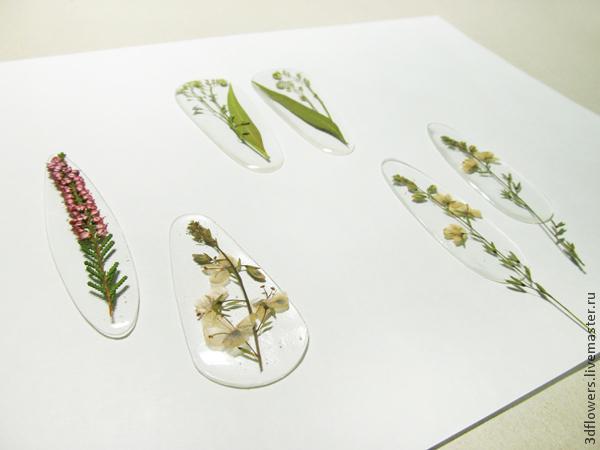
After the bubbles have come out of the resin (30-60 minutes have passed), we drip a couple of drops onto the base, distribute them and arrange the flowers. This is necessary in order to fix them in the right place. Cover with a lid and leave to dry.
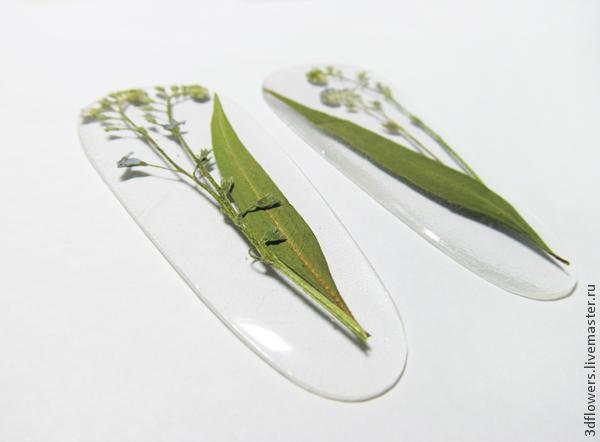
Well, another day has passed)) (or half a day). Again we are preparing a new resin, leaving it to thicken, but not much! Otherwise, when pouring too thick resin, the resulting bubbles on the plants will be difficult to remove and you can break a twig or leaf, expelling the bubbles with a toothpick! It is better to use its medium consistency, which is similar to fresh honey). This filling is needed first of all in order for the resin to flow into all the irregularities of the plant. Let me remind you about a flat work surface, because if at this stage it is not even, then the resin will simply drain and ruin your mood and work. The higher the lens needs to be formed, the smoother the surface needs to be!
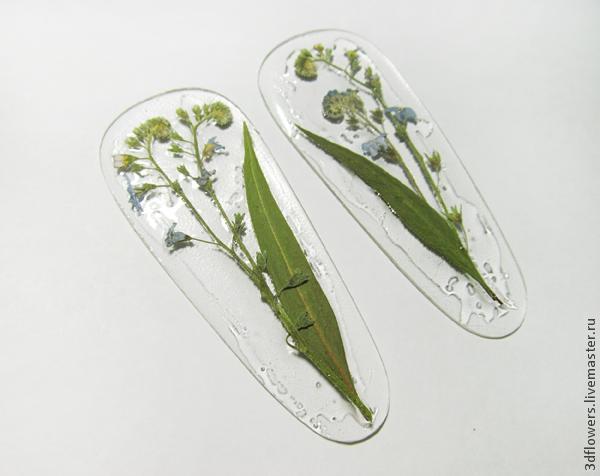
Further according to the well-known scheme: cover with a lid, leave to dry). After a day, you need to dilute the new resin and wait for its thick consistency (thick honey) and pour it again to form a volumetric coating. Remove again to COMPLETE drying under an anti-dust cover on a flat surface (complete drying is different for different resin manufacturers, but it is better to play it safe and not touch the products for several days; if the plans did not include leaving fingerprints, of course)
After complete drying, turn over the finished front side and make another pour with thick resin, because. there are no plants on it, you can make just one fill so as not to leave a flat back surface and remove the texture of the file! Thus, the plant is inside the form. At the same time, the form becomes very strong and it will not be possible to break it, just saw it))) All this work seems simple, but to do everything carefully, you need to have a certain amount of patience and skills!
Decorations made using resin require careful handling and do not like the open sun (plants can burn out for a long time, for example, on the windowsill)
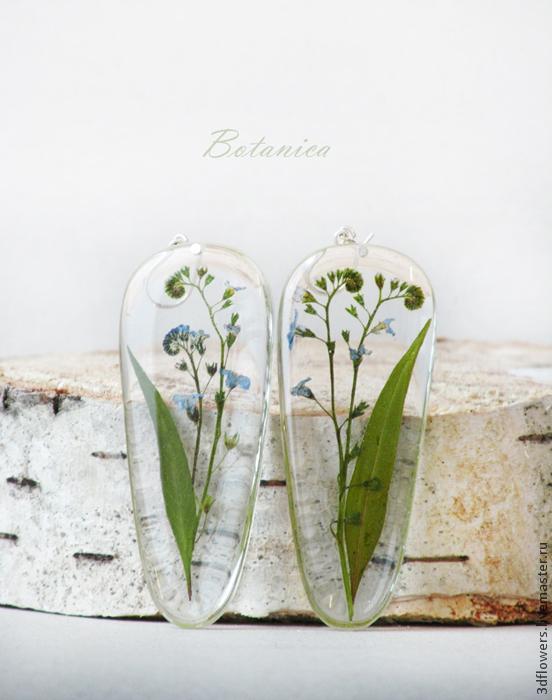
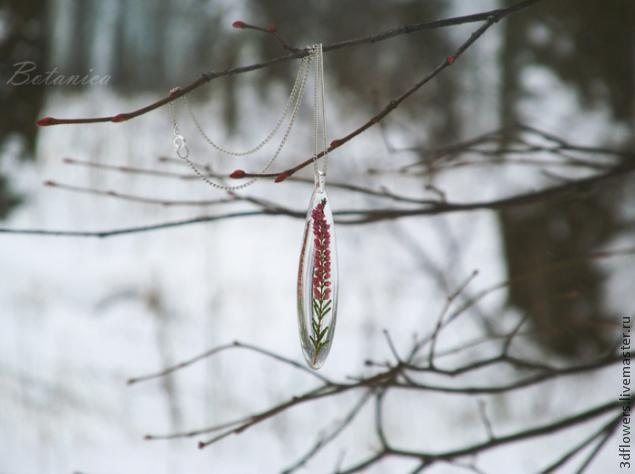
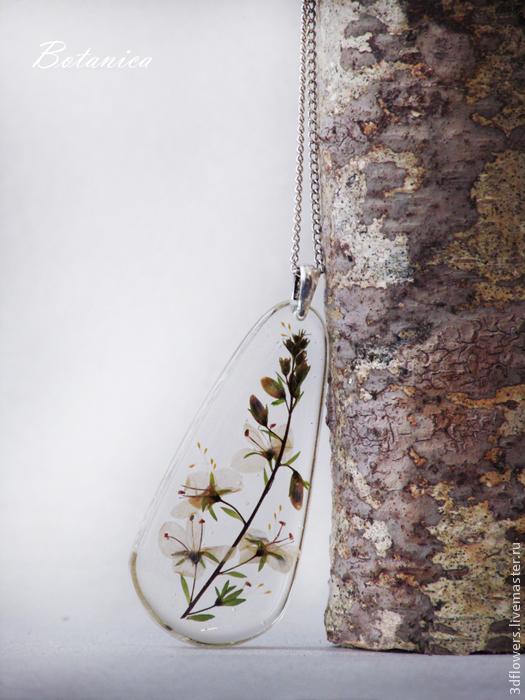
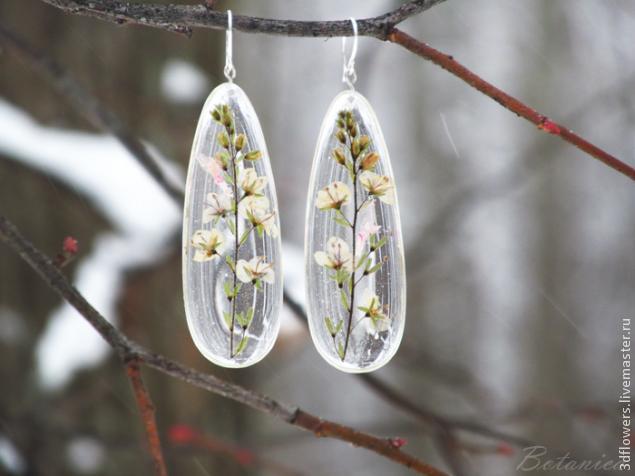
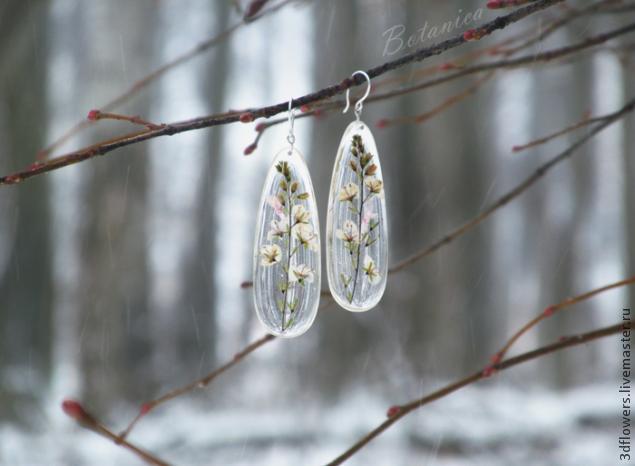
When all the fillings are completed and dry, you can make the intended decoration (for example, make a hole with the thinnest drill) or use it as you please. I love simple shapes and a minimum of decor, so I got the following decorations and photos in my new winter:
Heather pendant 20 x 80 mm
Forget-me-not earrings with silver hooks 28 x 70 mm
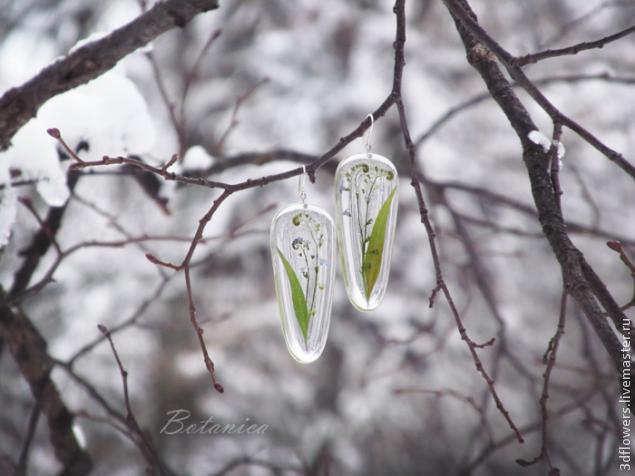
Pendant with a sprig of Veronica oak grove 30 x 62 mm
Earrings on silver earwires with a sprig of Veronica oak 23 x 64 mm
Thank you for your attention! I wish you all inspiration and realization of your ideas!