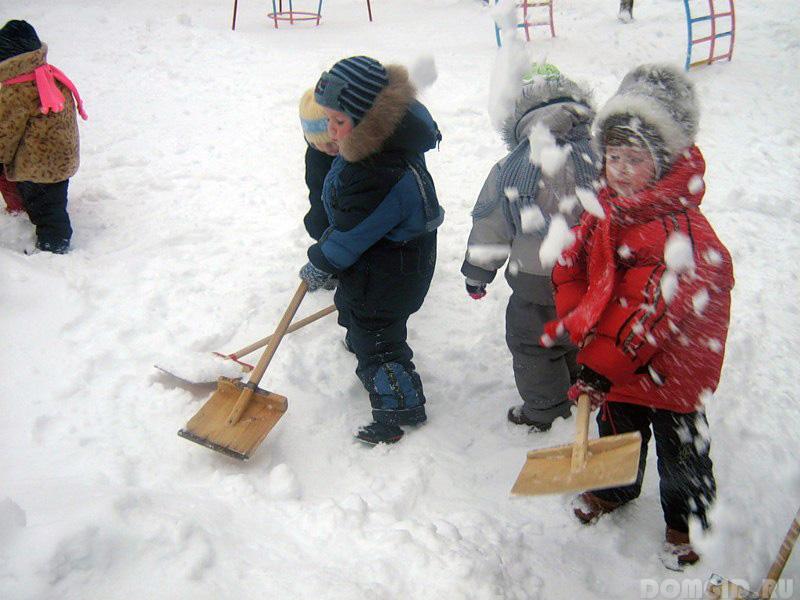
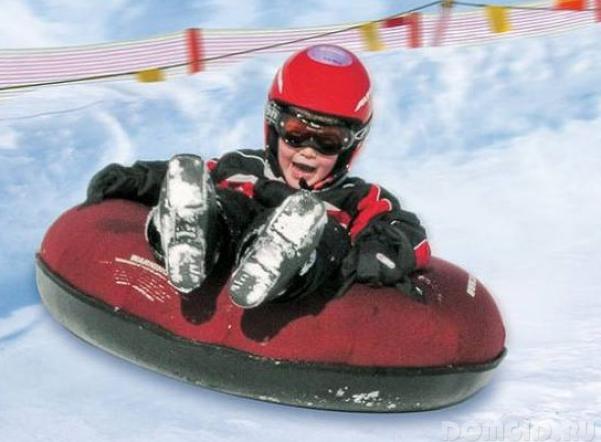
Children's outdoor games in winter should be active, and in order to diversify them, adults will have to work hard and build a skating rink or a snow slide. Moreover, children can be involved in construction work by instructing them to perform accessible and simplest work areas. Joint work in the fresh air will bring children pleasure no less than the games themselves.
How to make a snow slide for kids
The construction of a snow slide is a fairly simple job, but at the same time it requires some special knowledge or experience. The simplicity of the work is that it will require quite affordable tools and materials to complete it: snow, a shovel, water, pieces of used plywood, the difficulty is to correctly use simple devices and quickly build an entertaining winter attraction with your own hands.
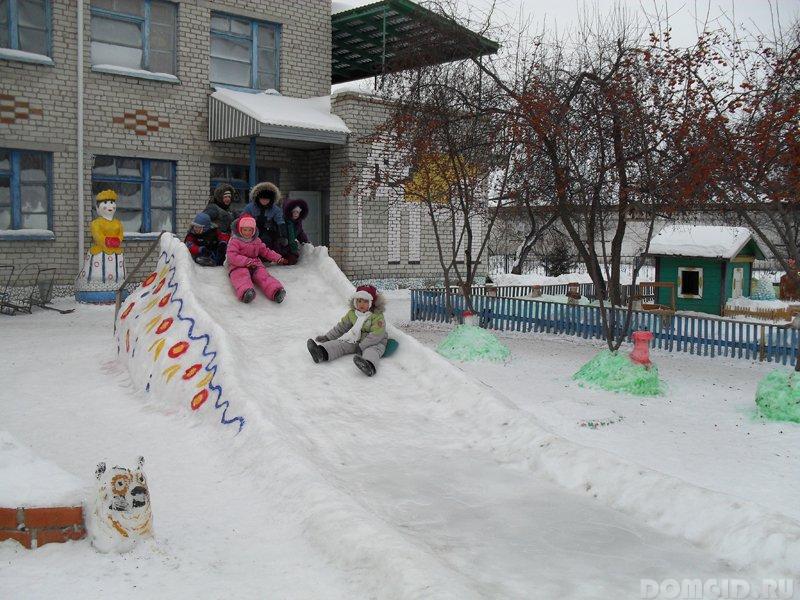
You should also study the recommended technical characteristics of the facility being built. The height of the slide should not be more than one and a half - the spirit of meters, but this is the case if teenagers and adults go down from it, if only kids ride, then a height of 1 m will be quite sufficient. It is not advisable to exceed these parameters - the task of building an object is significantly will become more difficult, but the pleasure derived from riding will be the same. The length of the descent should be planned about 5 m.
The descent angle should be 40 degrees. Its significant increase will lead to an increase in injury risk, and the descent itself will become very fast, the rider will not have time to enjoy the process. At the same time, at the end of the descent, the rider will receive a noticeable blow. If you make the descent angle too small, then the descent speed will decrease and it will not be interesting to ride.
For safety reasons, snow boards should be built on the descent, and the steps filled with water should be thoroughly covered with sand - when they freeze, they will no longer be slippery.
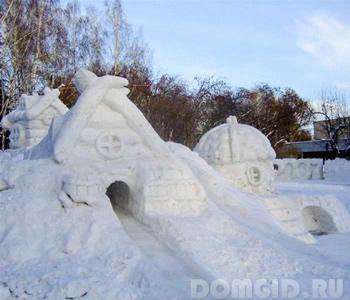
Children's snow slide, the advantages that a snow slide has
A snow slide in a suburban area has the following advantages:
- can work with children of different ages
- special costs for materials and tools are not required,
- the opportunity to experiment and change the design at your discretion,
- improve it by adding arches, turns, etc. to the design.
The only drawback of the snow slide can be considered a seasonal period of operation - next winter it will have to be rebuilt. But such works allow you to fully express your creativity and imagination, and they no longer look like work, but like entertainment.
Do-it-yourself snow slide - choose a place and install a frame
Of particular importance for the safe entertainment of adults and children is the choice of the location of the slide. It is desirable that it is located away from the road on which cars can pass. It is equally important that at night the snow slide be adequately lit from all sides. On the continuation of the line of descent there should be no trees, thickets or shrubs, sewer manholes, in general, nothing that could be dangerous for skiers.
For the construction of the slide, it is best to choose a relatively warm day when the snow is sticky and it will simply roll several balls of different diameters out of it. They can be set up in the form of a slide, the space between them is trampled with snow. Then you can proceed to the formation of steps and descent. When the air temperature drops, it will be possible to fill the constructed hill with water and wait until it is covered with a solid ice crust.

If construction is carried out during a period when frosts have already been established, then you can resort to another method. Collect as much of the main building material as possible with a snow shovel, compact it as much as possible. Further, from any improvised means: wooden shields, sheets of plywood or chipboard, etc. formwork will need to be assembled. If there are snowdrifts in the yard, the snow in which is well compressed, then brick cubes can be cut from them to build a slide.
If the snow turns out to be dumb, then the frame can be built from any voluminous hollow objects that are at hand, these can be car tires, plywood or wood boxes. If the slide is low, up to 1 m, then small cardboard boxes can be used as a frame. To give the structure strength, they can be poured with water. Boxes and boxes should be stacked upside down. After assembling the frame, you can proceed to the design of steps and descent. Do not forget to equip the sides - they will make the descent from the hill safer. Cover the surface of the descent with snow, and form the steps in such a way that the height of each is convenient for climbing.
The area at the top of the hill should be covered with pieces of plywood or boards - it will be much safer to stand on such a site.
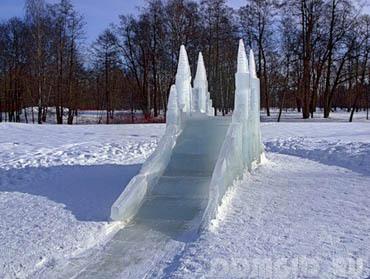
When choosing the shape of the slide, you can show your imagination, of course, it will be fun to ride on the hill of the most ordinary form, but you can create a descent surface that resembles a bobsleigh track - with turns in different directions, you can decorate the slide with an arch or arrange it in the form of a silhouette of a fairy-tale character.
How to fill a hill of snow with water
The most crucial moment is the filling of the constructed frame with water. If there is an opportunity to use winter water supply - very good. If the amount of water is limited, you can fill only the descent and steps. Do not forget to sprinkle sand on the steps - they will no longer be slippery. If there is a suitable material, it is desirable to equip the steps with handrails.
To obtain the first layer, it is best to spray the snow surface with a spray bottle. After a couple of hours, you can start pouring the slide. Water should be poured from a watering can and very carefully, otherwise it may blur the snowy part of the structure. The water should be slightly warm, but not hot. When using warm water, you can immediately get a fairly smooth surface of the ice. If, as a result of exposure to water, pits or voids have formed on the surface of the descent, then they should be repaired with snow slurry, leveled with a wet rag. The place of the slope in front of the slide also needs to be tamped and filled with water.
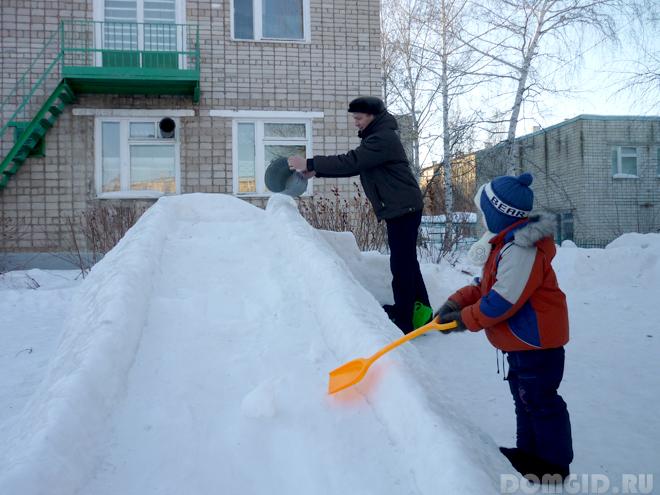
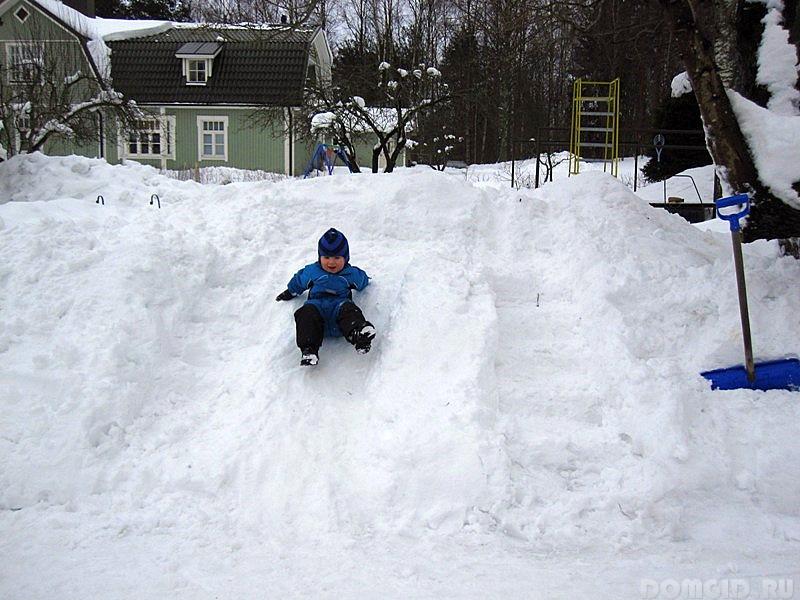
Next, you should let the hill freeze well until the next morning. Even during a thaw at night, the temperature drops so low that the hill should be well sealed with frost. In order to finally level the surface of the descent and give it perfect smoothness, you should pour a bucket of water on it. After 2-3 hours, you can start testing.